
If a dim room, outdated chandelier, or flickering flush mount is driving you crazy, learning how to replace a light fixture safely in Chicago is more approachable than most homeowners expect. With the right tools, a clear plan, and an honest understanding of where DIY stops, you can handle a straightforward swap confidently. This guide walks you through every step, including the situations where calling a licensed electrician is the smarter and safer call.
Safety First: Know When DIY Is Safe and When It Is Not
Is it safe to replace a light fixture yourself? Replacing a like-for-like light fixture on an existing, working switch is generally a safe homeowner task. However, if you encounter damaged wires, aluminum branch wiring, buzzing breakers, or a box that wiggles, stop and call a pro.
In many Chicago homes, metal conduit provides the grounding path, which changes how fixtures must be bonded. That detail alone catches a lot of DIYers off guard. Two code points worth knowing before you start:
- Under the National Electrical Code, fixtures over 50 pounds require independent support or a box specifically listed for that weight. Ceiling fan boxes are different from standard light boxes.
- LED fixtures can cut energy use by up to 80% compared to incandescent. If you are upgrading to LED, confirm your dimmers are LED-rated to avoid flicker.
If your project involves new wiring, new fixture locations, or opening walls, permits and inspections will likely apply. Chicago follows a local electrical code based on NFPA 70. Simple like-for-like swaps often do not require a permit, but new wiring typically does. When in doubt, contact your local building department or a licensed electrician before you start.
Tools and Materials You Will Need
Gathering everything before you start keeps you from rushing with exposed wires halfway through the job.
- Non-contact voltage tester and a plug-in outlet tester
- Insulated screwdriver set and needle-nose pliers
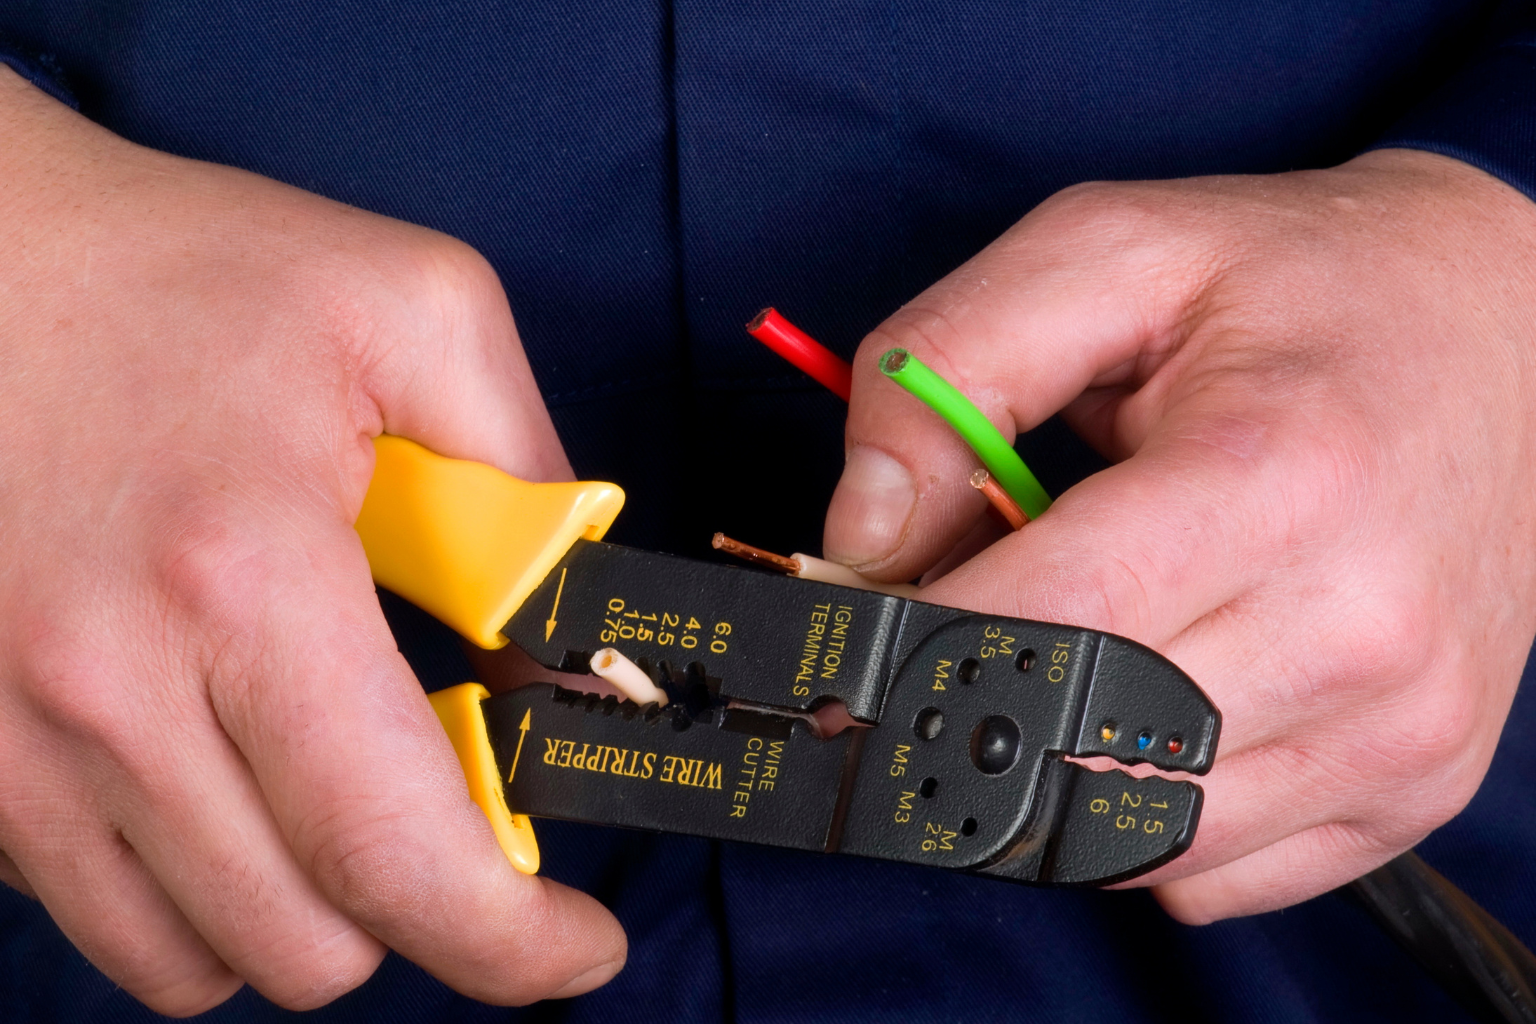
- Wire stripper with gauge markings
- Wire connectors rated for copper, or for aluminum-to-copper if applicable
- Grounding pigtail with green screw if the box is metal
- Mounting bracket and hardware from the new fixture
- Step ladder, safety glasses, and a drop cloth
One important note: if your home was built between 1965 and 1972, check for aluminum branch wiring. Only use connectors and devices clearly rated CO/ALR or listed for aluminum-to-copper splice methods. If you are unsure what type of wiring you have, hire a licensed electrician before proceeding.
Step-by-Step: How to Replace a Light Fixture Safely
1. Kill Power and Confirm It Is Off
Turn the light off at the wall switch, then turn off the matching breaker at the panel. Use a non-contact voltage tester at both the switch and the fixture wires to verify power is completely off. Never rely on the switch position alone to confirm the circuit is dead.
2. Remove the Old Fixture
Remove the globe or shade, then the bulbs. Support the fixture with one hand while loosening the mounting screws, then carefully lower it to expose the wiring. Photograph the connections before touching anything. Most homes use black or red as hot, white as neutral, and green or bare copper as ground. In Chicago homes with metal conduit, the box itself often serves as the ground path. Add a green grounding pigtail if the new fixture instructions require it.
3. Inspect the Box and Support
Confirm the electrical box is tight and rated for the fixture you are installing. Boxes for ceiling fans are specifically listed for fan support and are not interchangeable with standard light boxes. Do not hang a heavy chandelier from a plastic box that is not listed for that weight. If you see brittle insulation, scorch marks, or loose splices inside the box, stop and contact your electrical panel and breaker services provider before continuing.
4. Prep the New Fixture
Assemble the mounting bracket and crossbar according to the manufacturer’s instructions. Trim the fixture leads to length and strip about half an inch of insulation from each wire. If you are installing a dimmable LED fixture, confirm the wall control is LED-rated. Old dimmers paired with LED bulbs are the most common cause of flickering after an upgrade.
5. Make Solid, Code-Conscious Connections
Connect the ground first: the green fixture lead goes to bare copper, the green screw, or the bonded metal box via a listed pigtail. Then connect neutrals, typically white to white. Connect the hot wire last, usually black or red from the ceiling to the fixture hot lead. Use listed wire connectors and firmly tug each splice to confirm it is secure. Tuck wires neatly into the box to avoid pinching when the canopy is mounted.
6. Mount, Test, and Do a Final Check
Attach the fixture to the bracket without overtightening, which can crack the canopy. Install bulbs that match the fixture’s wattage rating. LEDs run cooler and are almost always the better choice. Restore power at the breaker and test the switch. If the light flickers, buzzes, or the breaker trips, turn power back off and call a licensed electrician before doing anything else.
Common Problems and Safe Fixes
The Fixture Ground Will Not Reach
Add a UL-listed grounding pigtail from the metal box to the green fixture lead. Never leave a metal fixture ungrounded. Proper grounding protects both you and your devices from fault current.
Wires Are Brittle or Too Short
Use listed wire extensions with the same gauge and insulation type. If insulation crumbles when you handle it, that is a sign of aging wiring that goes beyond a simple fixture swap. Stop and call a pro.
No Ground Wire Present
In many Chicago bungalows, metal conduit provides the grounding path. Bond with a green screw and pigtail to the metal box. If you have old cloth cable without any ground conductor, hire an electrician to evaluate your options before installing new fixtures.
Dimmer Causes Flicker With LEDs
Replace the dimmer with an LED-compatible model and use bulbs on the manufacturer’s approved compatibility list. A mismatched dimmer and bulb combination is the most common source of flicker complaints after LED upgrades.
Upgrade Ideas Worth Considering
LED Conversion: many existing fixtures can be converted to LED without replacing the housing. The energy savings add up quickly, and bulb replacements become a rare event rather than a seasonal chore.
Smart Lighting Controls: smart dimmers and switches let you schedule lights, set scenes, and reduce energy use. For multi-way circuits or older wiring, professional setup avoids the compatibility headaches that often come with DIY smart lighting installs.
Under-Cabinet and Task Lighting: LED strips or puck lights add clean, focused task light and can transform a kitchen in a single afternoon. Match the color temperature to your existing fixtures so the countertops do not end up looking two different tones.
Outdoor and Security Lighting: path, deck, and motion-activated fixtures improve safety during Chicago’s long winter evenings. Use weather-rated boxes and in-use covers, and seal any wall penetrations to keep moisture out.
Chicago-Specific Notes Homeowners Ask About
Conduit and bonding: many city homes use metal conduit as the grounding path. Bond your fixture to the box using a green screw and grounding pigtail rather than relying on a separate ground wire.
Heavy fixtures: for chandeliers over 50 pounds, the NEC requires independent support or a box listed for that load. Drywall anchors alone are not an acceptable solution.
Permits: like-for-like swaps are usually straightforward. New wiring, new fixture locations, or any work that requires opening walls typically needs a permit and inspection from the city.
Older plaster ceilings: pre-drill canopy screws and use a helper to avoid cracking the ornate plaster common in vintage Chicago flats from Logan Square to Evanston.
When to Call an Electrician Instead of DIY
When should you hire an electrician for light fixture replacement? Call a licensed electrician any time you encounter aluminum wiring, knob-and-tube, brittle cloth insulation, a loose or undersized box, tripping breakers, buzzing switches, or smart switch wiring that requires a neutral wire.
A professional handles planning, permitting, code compliance, safe mounting, testing, and cleanup. Electric Work Force Inc. also offers on-site consultations and 3D lighting design so you can visualize results before any work begins. If you run into something unexpected mid-project and need help fast, our 24/7 emergency electrical service is available around the clock.
Professional Touches That Make a Real Difference
Hiring a pro is not just about safety. It is also about results that look and perform better over the long term.
- Balanced layout: Recessed or chandelier placement matched to room geometry and natural sightlines
- Color temperature consistency: Matching 2700K, 3000K, or 4000K across connected spaces for a unified look
- Dimming curves: Pairing LED fixtures with the right dimmer for a smooth, low-level glow without flicker
- Smart controls: Scheduling, vacancy sensors, and whole-home scenes that reduce energy use over time
- Code compliance: A professional safety check catches small issues before they become expensive problems
Key Takeaways
- Like-for-like fixture swaps are generally safe DIY territory if the box is solid, wiring is sound, and no new wiring is involved
- Always verify power is off with a voltage tester before touching any wires, regardless of the switch position
- Chicago homes with metal conduit use the box as the grounding path, which requires a green screw and pigtail rather than a separate ground wire
- Fixtures over 50 pounds require a box specifically listed for that load
- LED upgrades require LED-rated dimmers to avoid flicker and buzzing
- Aluminum wiring, brittle insulation, loose boxes, and tripping breakers are all hard stops that require a licensed electrician
- Permits are typically required for new wiring or new fixture locations, but not for straightforward like-for-like swaps
Learning how to replace a light fixture in Chicago is a skill worth having, but knowing where to hand the job off is just as valuable. If your project stays simple, this guide has you covered. If it gets complicated, Electric Work Force Inc. is ready to help. Our lighting installation services cover everything from a single fixture swap to a full-room lighting redesign, with transparent pricing and no surprises. Call (708) 968-1904 or visit electricworkforceil.com to schedule your consultation today.
Subscribe to our YouTube channel!